
Notice
Recent Posts
Recent Comments
Link
| 일 | 월 | 화 | 수 | 목 | 금 | 토 |
|---|---|---|---|---|---|---|
| 1 | 2 | 3 | 4 | 5 | 6 | 7 |
| 8 | 9 | 10 | 11 | 12 | 13 | 14 |
| 15 | 16 | 17 | 18 | 19 | 20 | 21 |
| 22 | 23 | 24 | 25 | 26 | 27 | 28 |
Tags
- glide
- 안드로이드컴포즈
- thread
- Firebase
- android 지도
- 컴포넌트
- 아키텍처
- 동적 링크
- 파이어베이스
- RecyclerView
- component
- dynamiclink
- 안드로이드 카카오 지도
- 클린 아키텍처
- 안드로이드
- 애드몹배너
- Android 애드몹
- 젯팩컴포즈
- ImageView
- android daum map
- JetpackCompose
- 안드로이드광고
- 안드로이드 라이브러리
- android kakao map
- HTTP
- Clean Architecture
- 애드몹광고
- 선언형UI
- Android
- 다이나믹 링크
Archives
- Today
- Total
코딩스토리
[Andriod] TextView 기본 사용법 본문
TextView 기본 사용법
activity_main.xml
<TextView
android:id="@+id/tv_sample"
android:layout_width="wrap_content"
android:layout_height="wrap_content"
android:text="Hello World!"
app:layout_constraintBottom_toBottomOf="parent"
app:layout_constraintLeft_toLeftOf="parent"
app:layout_constraintRight_toRightOf="parent"
app:layout_constraintTop_toTopOf="parent" />
MainActivity
package com.example.myapplication;
import android.graphics.Color;
import android.support.v7.app.AppCompatActivity;
import android.os.Bundle;
import android.widget.TextView;
public class MainActivity extends AppCompatActivity {
TextView textView;
@Override
protected void onCreate(Bundle savedInstanceState) {
super.onCreate(savedInstanceState);
setContentView(R.layout.activity_main);
textView = findViewById(R.id.tv_sample);
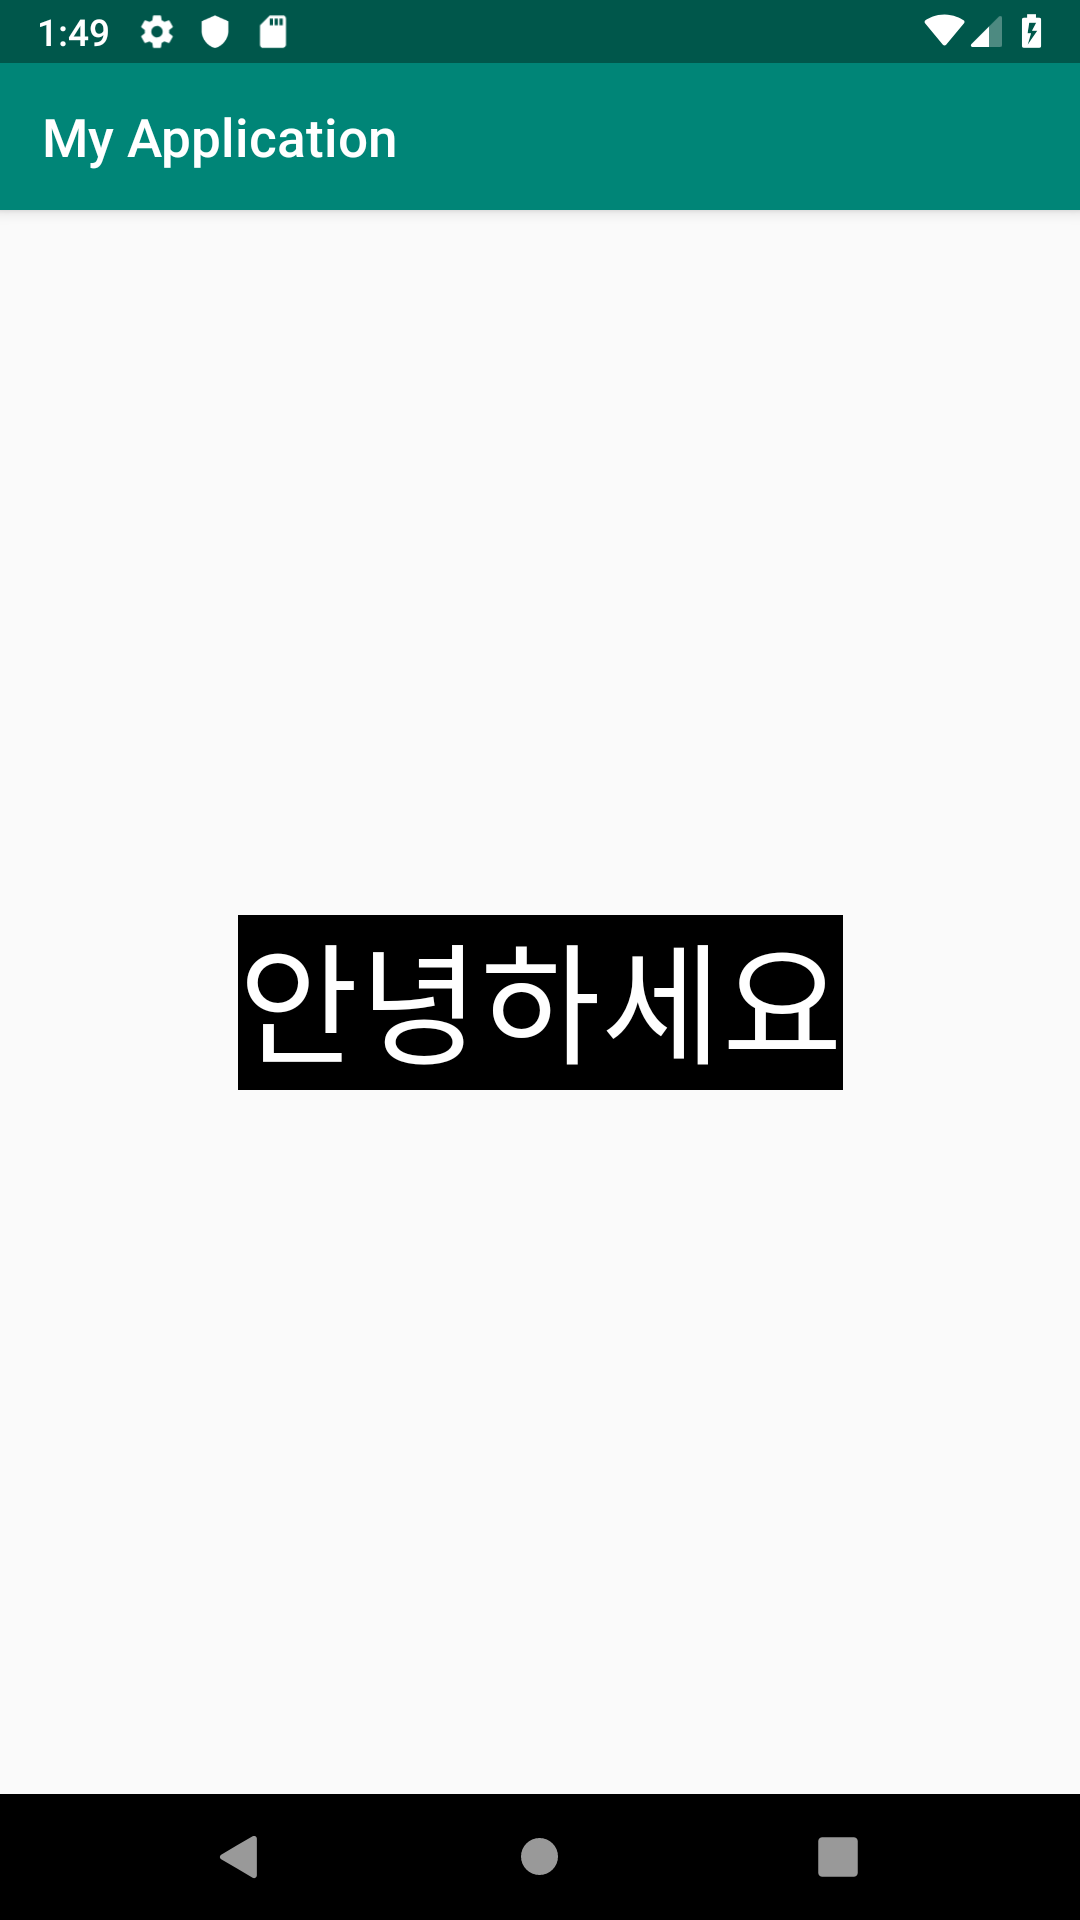
//TextView 글자 삽입
textView.setText("안녕하세요");
//TextView 배경색 지정
textView.setBackgroundColor(Color.BLACK);
//TextView 글자색 지정
textView.setTextColor(Color.WHITE);
//TextView 글자 크기 지정
textView.setTextSize(50);
}
}
'Android > Component(Widget) 사용법' 카테고리의 다른 글
| [Android] EditTest 기본 사용법 (0) | 2019.06.27 |
|---|
'Android/Component(Widget) 사용법' Related Articles
more

Comments